Live preview · Letter (8.5" × 11") · Dark lines
Weekly Planner (Sunday Start)
An undated weekly planner with the week running Sunday to Saturday, the usual layout on US calendars. Each day gets its own row with writing lines for tasks, appointments and notes; write the date at the top and use it for any week.
Download generates a crisp vector PDF directly, no print dialog needed.
Choose a different paper size:
Choose a different line color:
Great for
- Weekly planning that matches a US wall calendar
- Family schedules and activity planning
- School weeks, homework and class schedules
- Meal, workout and chore planning
Weekly Planner (Sunday Start) at a glance
| What it is | Sunday-to-Saturday weekly planner: seven labelled day rows with writing lines, undated for any week. |
|---|---|
| Category | Planning & Productivity |
| Paper sizes | Letter (8.5" × 11"), A4 (210 × 297 mm), 11" × 17", Legal (8.5" × 14"), A3 (297 × 420 mm), A2 (420 × 594 mm), Poster (18" × 24"), Movie Poster (27" × 40") |
| Line colors | Faint, Light, Gray, Dark, Black, Blue, Green (default: Dark) |
| Format | Vector PDF download at exact physical scale, or print directly from the browser |
| Price & license | Free. No signup or watermark. Printed sheets may be used for personal, classroom and commercial work. |
About weekly planner (sunday start)
This is the Sunday-start version of our weekly planner. Many families and schools in the US think of the week as beginning on Sunday, and their wall calendars and school planners are laid out that way. Using a planner that matches avoids the small but constant friction of translating between layouts. Sunday at the top also suits people who plan the week ahead on Sunday: the day you sit down to plan is the first row on the page. Sunday-start layouts are also common in US school planners and church, sports and family schedules, where Sunday events and Monday preparation sit naturally at the top of the week. Choosing the layout that matches the calendars you already use means fewer days written in the wrong row.
What's on the page
A 'WEEK OF' line at the top for the date, then seven bordered rows from SUNDAY to SATURDAY. Each row has the day name in bold on the left and seven light writing lines on the right. Heavier lines separate the days so each one reads as its own block.
How to use it well
Plan the week on Sunday
Spend ten minutes on Sunday filling in fixed commitments first, then the tasks that matter most. The rest of the week becomes about doing rather than deciding.
Write dates next to the day names
After 'WEEK OF', add the date beside each day. It makes the page easier to refer back to and avoids mixing up weeks.
Split each day into thirds
Use the top lines for the morning, the middle for the afternoon and the bottom for the evening. It's a light form of time-blocking that stops tasks piling into one part of the day.
Carry over deliberately
At the end of the week, look at what didn't get done and decide whether to move it forward or drop it, rather than copying everything onto the next page.
Common mistakes to avoid
- Overfilling every row. Seven lines a day doesn't mean seven tasks. Estimate how long each task takes and leave space for the unexpected.
- Mixing Sunday-start and Monday-start pages. If your other planners or calendars start on Monday, use the Monday-start weekly planner to avoid misplacing days.
- Skipping the weekly review. A planner that is filled in but never reviewed doesn't change anything. Look back at the end of each week.
FAQ, Weekly Planner (Sunday Start)
Is there a Monday-start version?+
Yes. The original weekly planner runs Monday to Sunday, the ISO standard used in most of Europe.
Is it dated?+
No. Write the week's dates yourself, so the same printable works for any week of any year.
Is there a matching monthly calendar?+
Yes. The monthly calendar also starts on Sunday, and a Monday-start monthly calendar is available too.
How many lines does each day have?+
Seven light writing lines per day, plus the day label. On larger paper sizes the rows and lines get proportionally taller.
What size should I print?+
Letter or A4 for most uses. Legal or A3 gives more writing room, which helps for family planners shared by several people.
How do I use it for meal planning?+
Write the main meal on the first line of each day and ingredients to buy on the lines below. At the end of the page you have both the week's menu and a shopping list in one place.
Can I use it for a school week?+
Yes. List each class's homework and test dates on its day. Sunday at the top gives a natural place to note anything that needs doing before Monday's classes.
Printing tips for best results+
- 1. Click Print above. A new tab opens the template at exact size.
- 2. The print dialog appears automatically. Set Scale to 100%. Never "Fit to page", which silently shrinks every cell.
- 3. Set Margins to None or Minimum so the grid reaches the page edge.
- 4. For a PDF, click Download instead. It generates a vector PDF directly without going through the printer driver.
You might also like
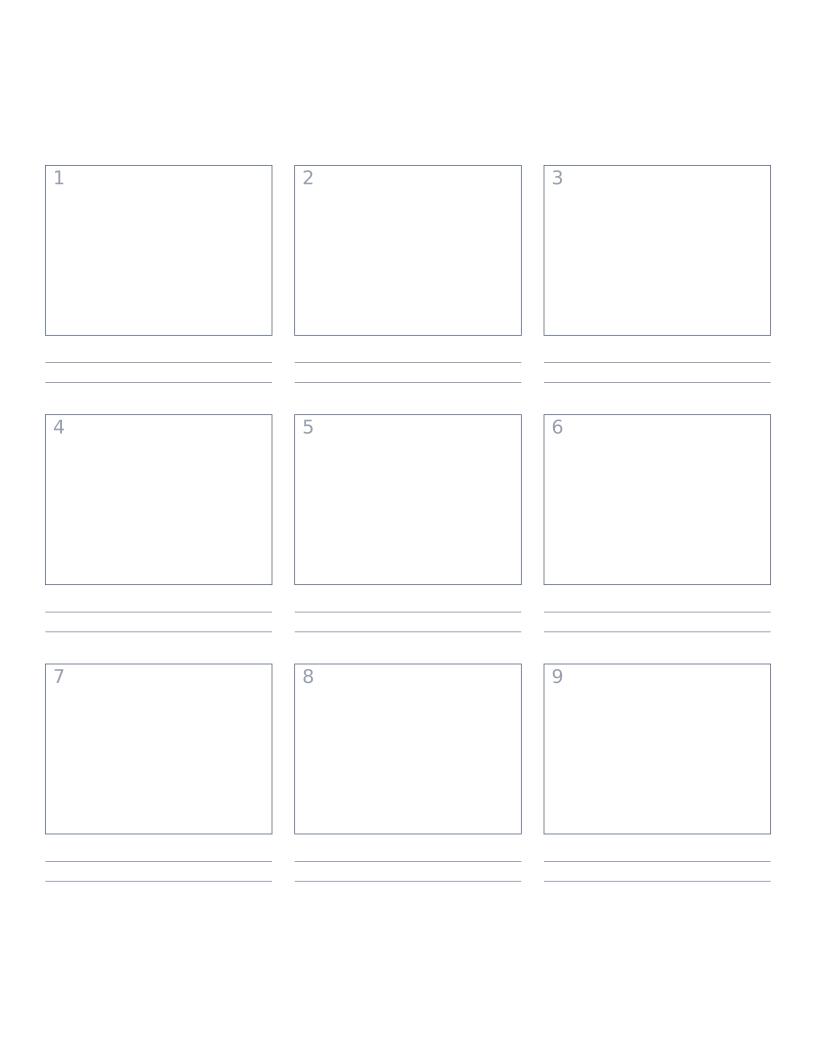
Storyboard Paper (3×3)
Nine-panel storyboard layout with caption space: for filmmakers, animators and UX designers.
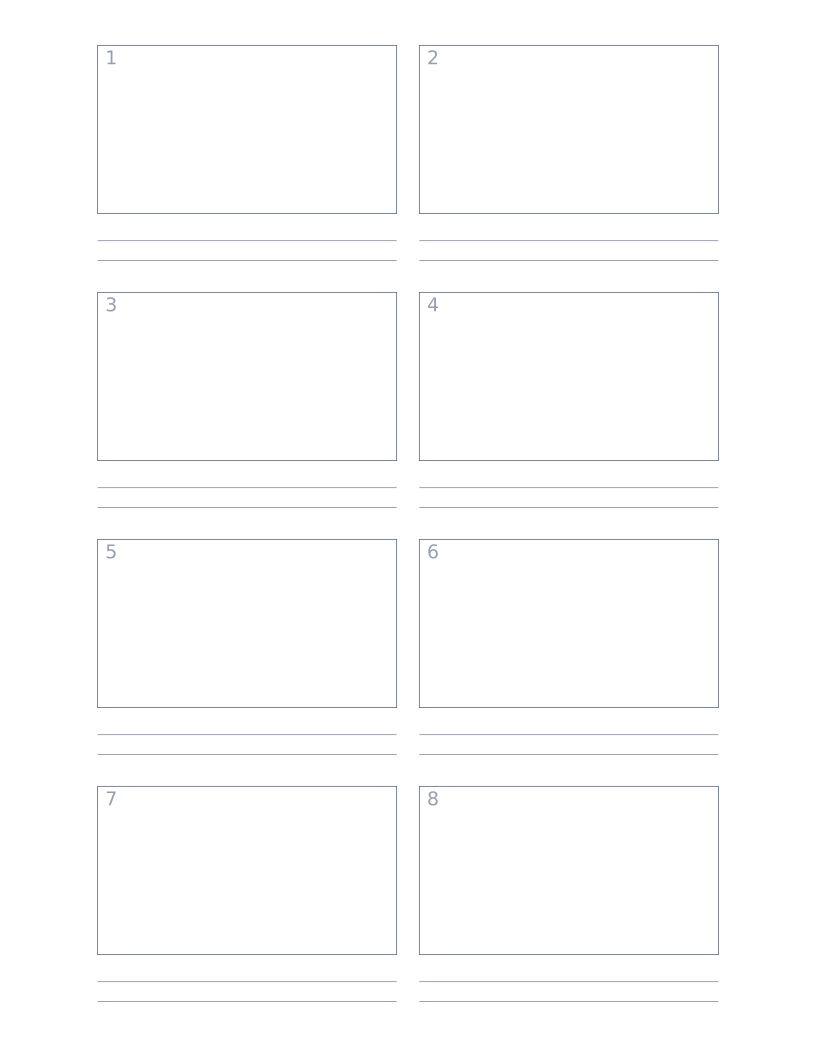
Storyboard Paper (2×4)
Eight-panel storyboard with widescreen 16:9 frames for video and film work.
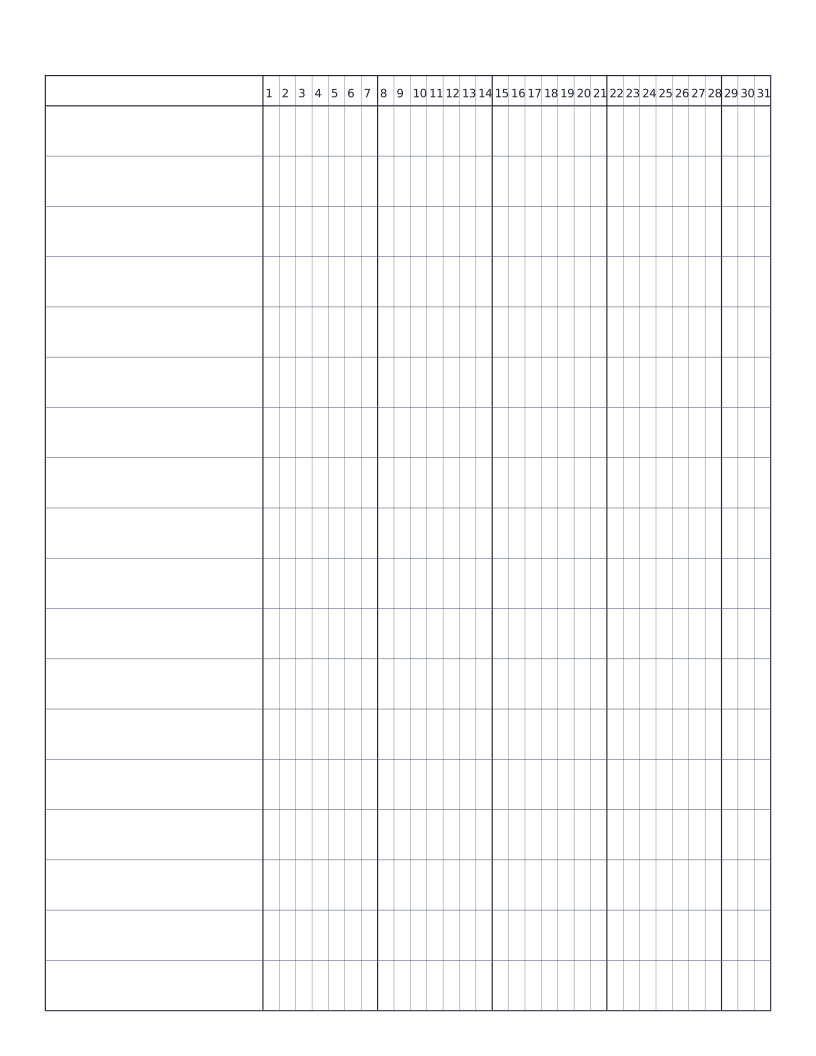
Habit Tracker (Monthly)
Monthly habit tracker: name column plus 31-day grid for marking off daily habits.
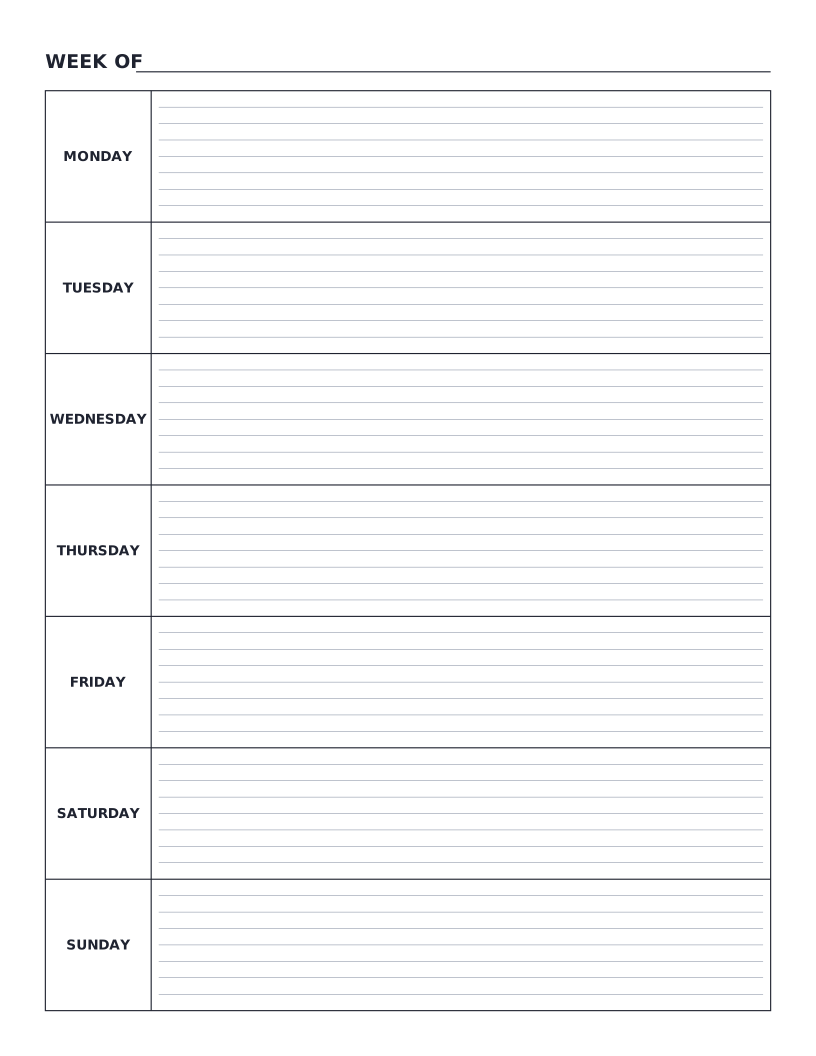
Weekly Planner
Monday-to-Sunday weekly planner: seven labelled day rows with writing lines for tasks, notes and appointments.