Live preview · Letter (8.5" × 11") · Dark lines
Weekly Planner
A clean undated weekly planner. Monday through Sunday in stacked rows, each with several writing lines for tasks, appointments or notes. Fill in the date at the top and use it for any week of any year.
Download generates a crisp vector PDF directly, no print dialog needed.
Choose a different paper size:
Choose a different line color:
Great for
- Planning the week's tasks and appointments
- Family schedules and shared calendars
- Class schedules and assignment tracking
- Workout, meal or study planning by day
Weekly Planner at a glance
| What it is | Monday-to-Sunday weekly planner: seven labelled day rows with writing lines for tasks, notes and appointments. |
|---|---|
| Category | Planning & Productivity |
| Paper sizes | Letter (8.5" × 11"), A4 (210 × 297 mm), 11" × 17", Legal (8.5" × 14"), A3 (297 × 420 mm), A2 (420 × 594 mm), Poster (18" × 24"), Movie Poster (27" × 40") |
| Line colors | Faint, Light, Gray, Dark, Black, Blue, Green (default: Dark) |
| Format | Vector PDF download at exact physical scale, or print directly from the browser |
| Price & license | Free. No signup or watermark. Printed sheets may be used for personal, classroom and commercial work. |
About weekly planner
The weekly planner is the workhorse format of personal time management. It exists in every paper planner, every digital calendar's 'week view', and every bullet journal as the standard weekly spread. The reason the format keeps reappearing is structural: a week is the smallest unit of time that contains a full pattern of work, rest and social commitments. Daily planners are too granular to show that rhythm; monthly planners are too coarse to capture the detail. The week strikes the right balance. Seven labelled rows give each day a fixed share of the page, which forces honest planning — if Thursday is already full, you can see it before you commit to one more thing. That visual constraint is the planner's real value. It's not the format that organises you, it's the fact that the format makes overcommitment visible.
What's on the page
A 'Week of:' header line at the top so you can write in the starting date. Below, a single bordered grid with seven rows. One per day. Each row has a narrow left column with the day name (MONDAY through SUNDAY) in bold and a wide right area with several light horizontal writing lines. The week starts on Monday, the ISO standard. Days are visually separated by a heavier line so it's easy to see at a glance where one day ends and the next begins.
How to use it well
Date the planner before you start writing
An undated planner only works if you commit to a starting date. Write the Monday date at the top, then optionally add specific dates next to each day name (Mon 3, Tue 4, …). It takes ten seconds and turns the page into a real artefact you can refer back to.
Block time, don't just list tasks
The horizontal lines can be used as a list, but they're more useful as a rough time-block. Top line is morning, middle is afternoon, bottom is evening. You don't need an hour-by-hour schedule; just dividing each day into thirds prevents 'I'll do it later' from collapsing into 'I didn't'.
Cross out finished items, don't erase them
Strikethrough leaves a visible record of what got done. At the end of the week you can see what was completed versus what slid. Erased items make the page look tidier but destroy that signal.
Carry forward unfinished items deliberately
When you start a new weekly page, scan the previous one for tasks that didn't get done. Decide whether each one is worth carrying forward or whether it should be dropped. This explicit triage prevents tasks from haunting you across weeks without resolution.
Common mistakes to avoid
- Writing tasks without estimating how long they take. Five lines per day looks like five tasks, but if each task is two hours long, the day is overcommitted before lunch. Think in hours, not bullets, when planning the page.
- Treating the planner as a wishlist. Items that have been written down four weeks in a row and never done are not 'to do later', they're 'not actually doing'. Drop them or change the framing. The planner is more useful when it represents reality, not aspiration.
- Switching to a different planner every week. The benefit of a weekly format compounds across many weeks. If you keep changing layouts (this week a planner, next week a digital app, the week after a notebook list), you lose the pattern recognition that makes the format valuable.
FAQ, Weekly Planner
Does the week start on Monday or Sunday?+
This template starts on Monday, which is the ISO 8601 international standard and the convention in most of Europe and Asia. If you want a Sunday-start version, the underlying layout is the same — we may add it as a sibling template if there's demand. For now, you can write 'SUN' in the first row and shift the others if it matters.
What size should I print?+
Letter or A4 portrait works for most people: you get enough writing space per day without the page becoming unwieldy. Print on legal or A3 if you want generous space (good for family planners on a fridge), or shrink to half-page for binder inserts. The layout scales cleanly to any size.
How is this different from a daily planner?+
A daily planner gives each day a full page with hour-by-hour slots. A weekly planner gives each day a row on a shared page. Use a daily planner if your time is mostly meetings and appointments; use a weekly planner if your time is mostly tasks and intentions. Most people benefit more from the weekly view because they overestimate how much they'll get done day-to-day and underestimate it week-to-week.
Can I use this for time-blocking?+
Yes, with a caveat. The rows aren't divided into hour slots, just writing lines. For light time-blocking (morning / afternoon / evening), it's fine. For granular time-blocking (every 30 minutes), you'd want a dedicated daily schedule template, which we may add separately.
Does it work for shared planners (family, team)?+
Yes. Use different coloured pens for each person, or assign people to specific lines within each day. The format doesn't impose any structure beyond 'day rows + lines', so it adapts well to multi-person use. Some families find it works better on a larger paper size (A3 or legal) to give everyone room.
Printing tips for best results+
- 1. Click Print above. A new tab opens the template at exact size.
- 2. The print dialog appears automatically. Set Scale to 100%. Never "Fit to page", which silently shrinks every cell.
- 3. Set Margins to None or Minimum so the grid reaches the page edge.
- 4. For a PDF, click Download instead. It generates a vector PDF directly without going through the printer driver.
You might also like
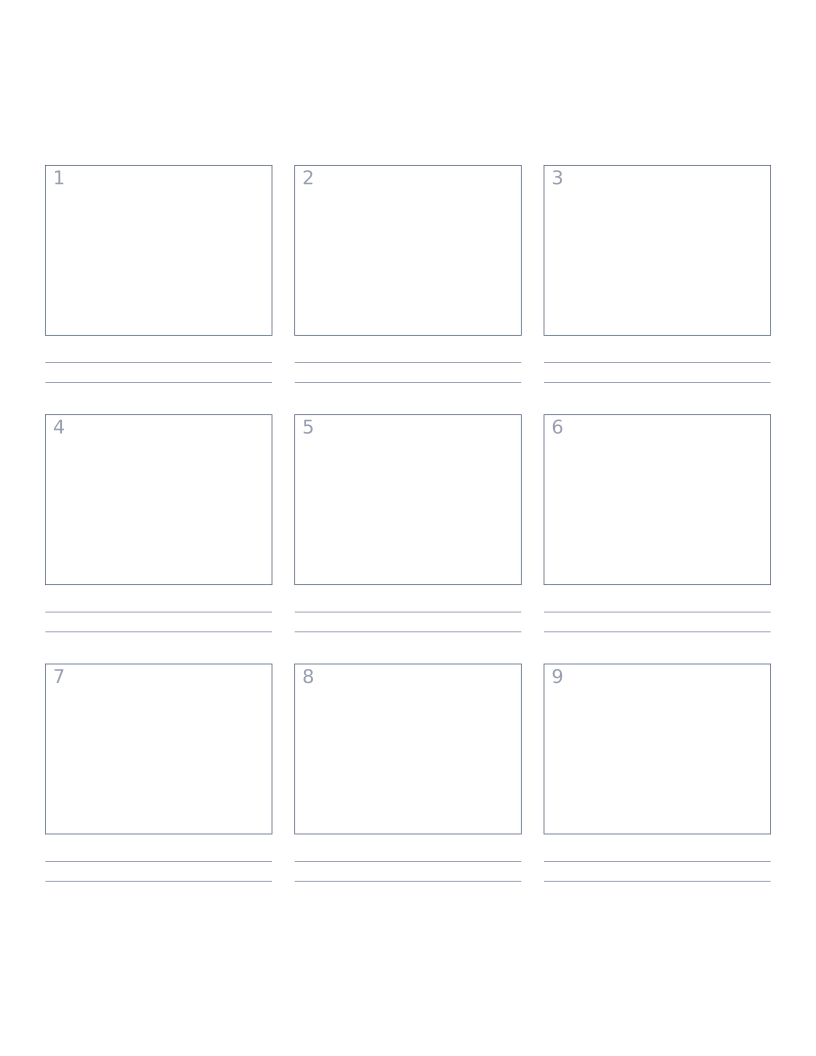
Storyboard Paper (3×3)
Nine-panel storyboard layout with caption space: for filmmakers, animators and UX designers.
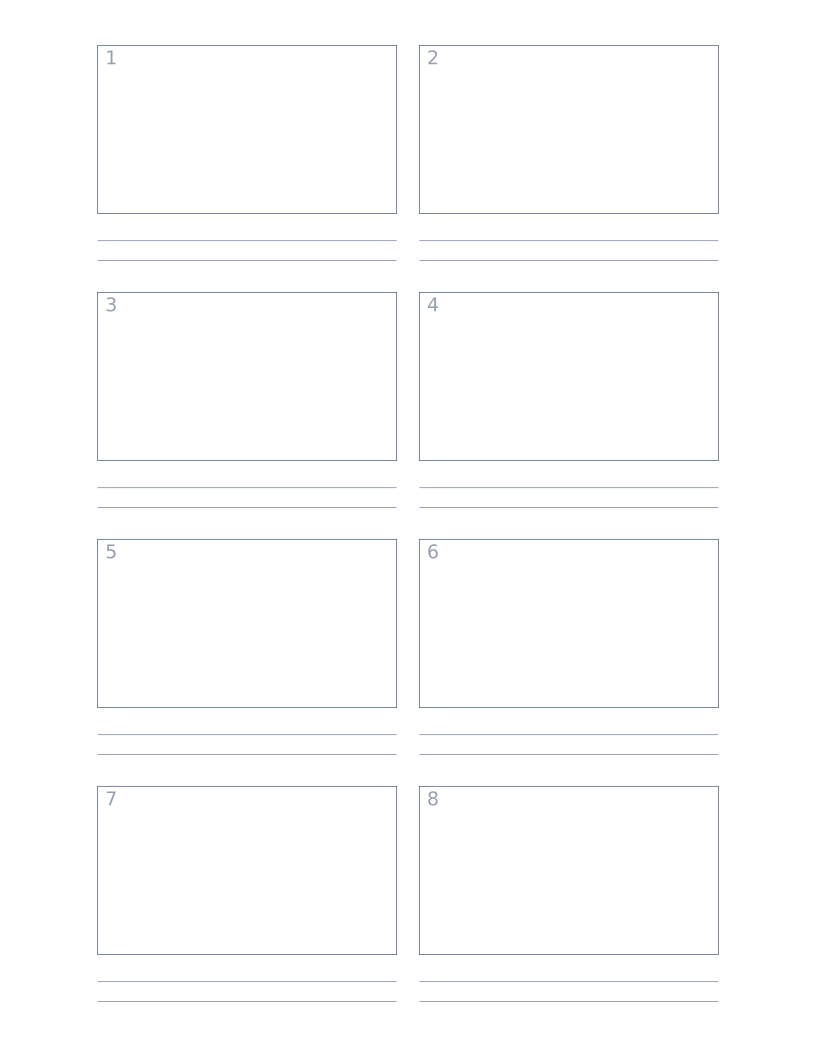
Storyboard Paper (2×4)
Eight-panel storyboard with widescreen 16:9 frames for video and film work.
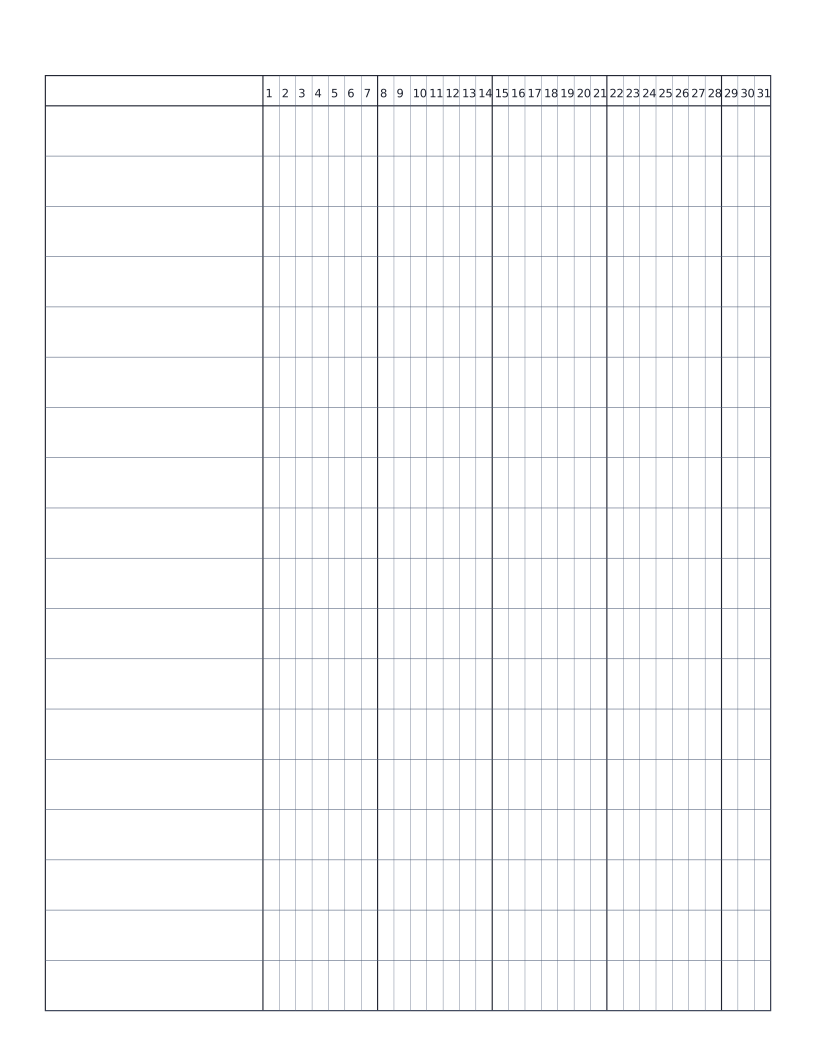
Habit Tracker (Monthly)
Monthly habit tracker: name column plus 31-day grid for marking off daily habits.
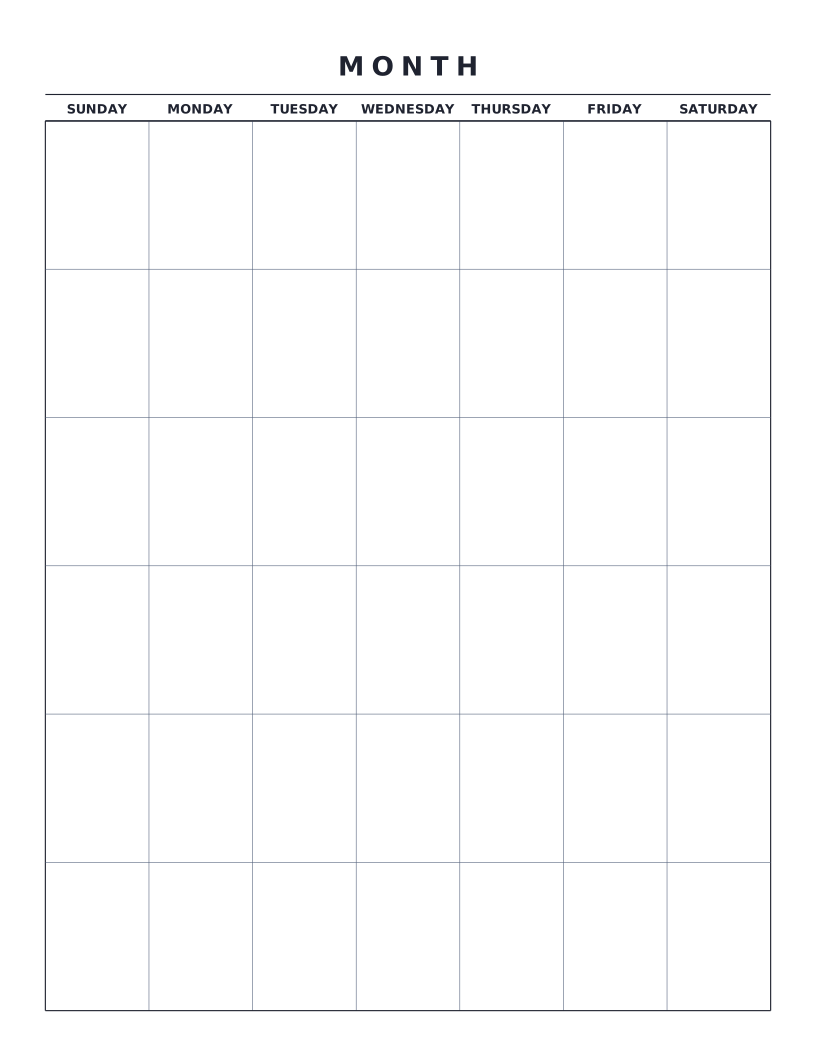
Monthly Calendar
Blank monthly calendar grid: six weeks × seven days, ready to fill in for any month of any year.