Live preview · Letter (8.5" × 11") · Gray lines
Blank Multiplication Table (12×12)
A blank 12×12 multiplication table: the factors 1 to 12 are printed along the top and side, and the 144 product cells are empty for students to fill in. It's the practice partner to the filled multiplication table.
Download generates a crisp vector PDF directly, no print dialog needed.
Choose a different paper size:
Choose a different line color:
Great for
- Times tables practice and timed drills
- Quizzes and progress checks
- Discovering patterns by filling the table in
- Homework and home practice
Blank Multiplication Table (12×12) at a glance
| What it is | A 12×12 multiplication grid with the factors printed and the products left blank, for times-table practice and quizzes. |
|---|---|
| Category | Math & Learning |
| Paper sizes | Letter (8.5" × 11"), A4 (210 × 297 mm), 11" × 17", Legal (8.5" × 14"), A3 (297 × 420 mm), A2 (420 × 594 mm), Poster (18" × 24"), Movie Poster (27" × 40") |
| Line colors | Faint, Light, Gray, Dark, Black, Blue, Green (default: Gray) |
| Format | Vector PDF download at exact physical scale, or print directly from the browser |
| Price & license | Free. No signup or watermark. Printed sheets may be used for personal, classroom and commercial work. |
About blank multiplication table (12×12)
Filling in a blank multiplication table is one of the oldest ways to learn times tables, and it still works because it mixes recall with pattern spotting. Students quickly notice that the table is symmetric (6 × 8 and 8 × 6 are the same), that every row of 5s alternates between 5 and 0, and that the squares run down the diagonal. Each of those discoveries cuts the amount to memorise. A blank grid also makes progress visible: the first attempt might take ten minutes with gaps, and later ones get faster and complete. Pair it with the filled multiplication table as an answer key. For older students it also works as a quick check before topics that rely on fast multiplication, such as fractions, long division and factoring, since gaps in times tables slow every one of those down.
What's on the page
A 13 × 13 grid: a header row and column with the factors 1 to 12 in bold, a × symbol in the corner, and 144 empty cells for the products. The header lines are heavier so the factors stand apart from the answers. Cells are large enough for three-digit numbers written by hand, and the table fits Letter or A4 with even margins.
How to use it well
Fill the easy rows first
Start with the 1s, 2s, 5s and 10s, then the 11s. Once those are in, a large part of the table is complete and the remaining facts feel manageable.
Use the symmetry
Every product above the diagonal appears again below it. Fill one half, then copy across. That halves the number of facts to learn.
Time it
Time each attempt and write the time on the sheet. Watching the time drop week by week motivates more than any reward chart.
Fill by column, then by random cell
Going row by row lets students skip-count instead of recalling. Once rows are easy, fill cells in a random order to practise true recall.
Common mistakes to avoid
- Only ever filling it in order. Filling 1×1, 1×2, 1×3 and so on turns the exercise into counting. Mix the order once the patterns are familiar.
- Practising without checking. Wrong facts that are written repeatedly get memorised. Check each attempt against the filled multiplication table.
- Moving on too early. A table completed slowly with help is a start, not mastery. Aim for a complete, correct table in a few minutes before moving on.
FAQ, Blank Multiplication Table (12×12)
Is there an answer key?+
Yes. The filled multiplication table has every product from 1 × 1 to 12 × 12 and works as an answer key for this sheet.
Why 12 × 12 and not 10 × 10?+
12 × 12 is the standard in US and UK schools, and the 11s and 12s come up often in everyday maths (dozens, inches, months). If you only need 10 × 10, students can leave the last two rows and columns empty.
How many cells are there to fill?+
144. Because the table is symmetric, there are only 78 different facts, and the 1s and 10s make many of those easy.
What age is this for?+
Most children practise times tables between about ages 7 and 10 (grades 2 to 4). The blank table is useful from the point they know some tables and want to test themselves.
Can I print it double-sided?+
Yes. Print the filled table on one side and the blank table on the other, or keep the blank sheet in a plastic sleeve and fill it with a dry-erase marker for unlimited practice.
Which facts are the hardest?+
For most children the 6s, 7s and 8s (especially 6 × 7, 6 × 8, 7 × 8 and 8 × 8). Once the easy rows and the square numbers are known, there are only a handful of these left to drill.
Printing tips for best results+
- 1. Click Print above. A new tab opens the template at exact size.
- 2. The print dialog appears automatically. Set Scale to 100%. Never "Fit to page", which silently shrinks every cell.
- 3. Set Margins to None or Minimum so the grid reaches the page edge.
- 4. For a PDF, click Download instead. It generates a vector PDF directly without going through the printer driver.
You might also like
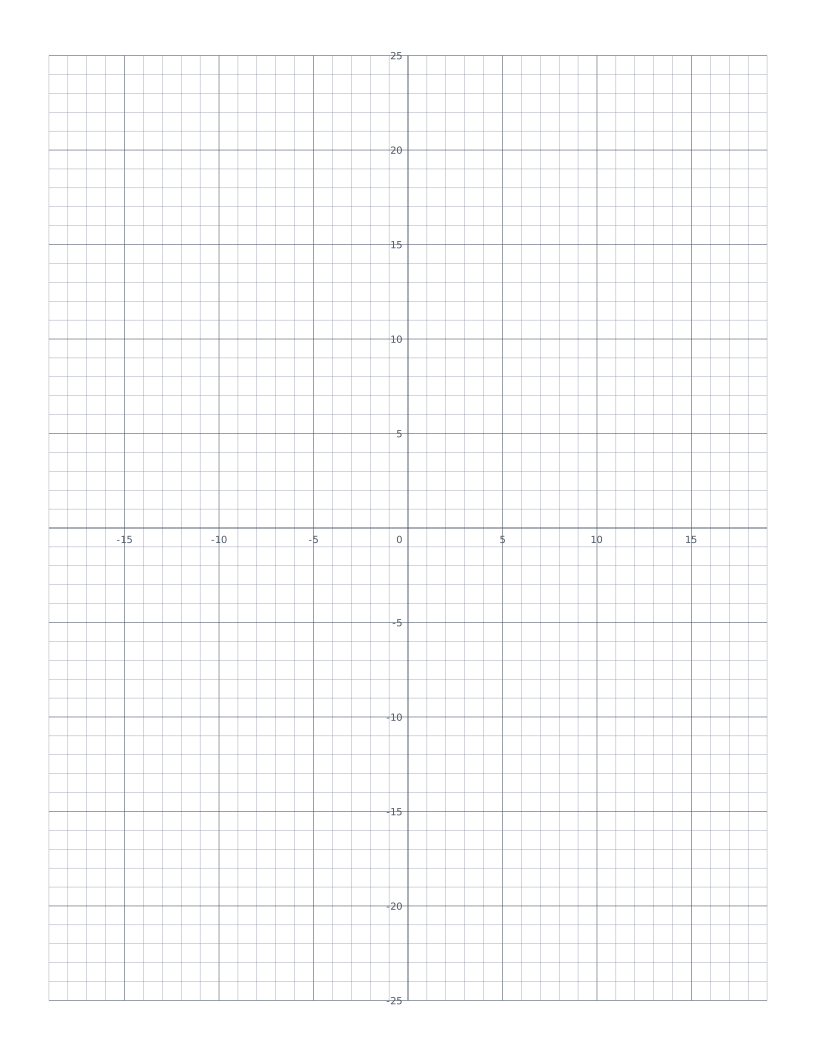
Coordinate Plane
Cartesian grid with numbered x and y axes through the centre: four quadrants for plotting points and graphing functions.
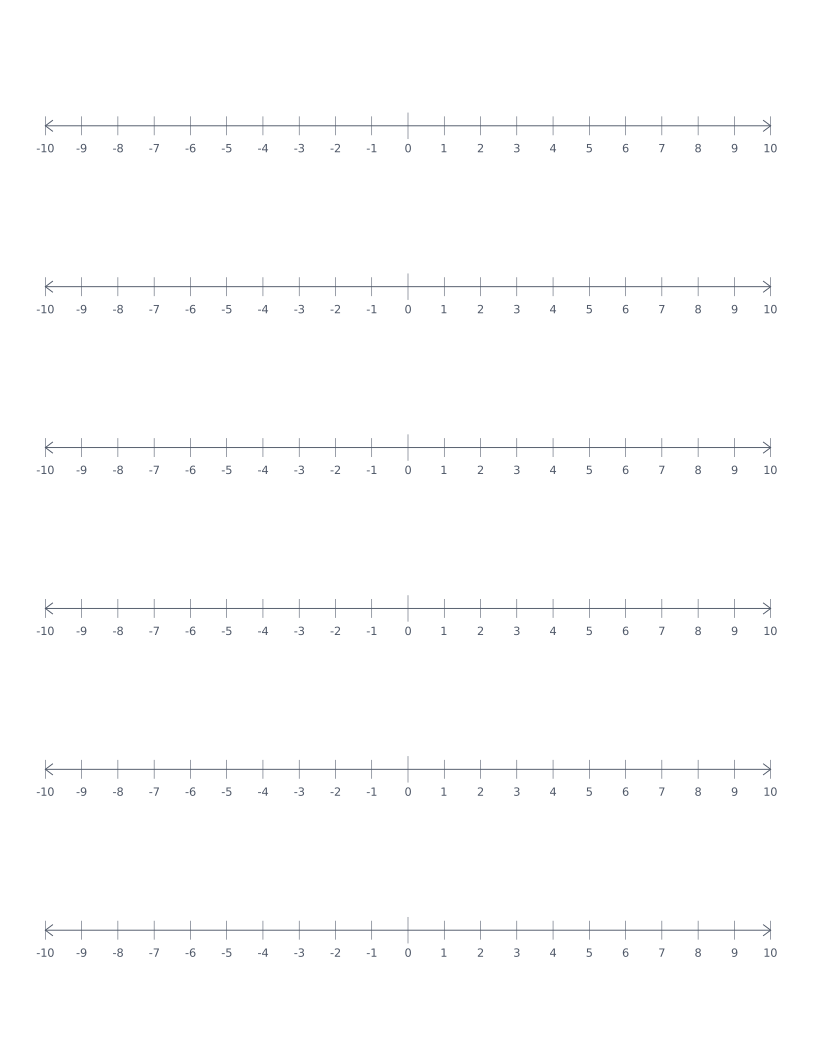
Number Line
Stacked number lines from -10 to 10: for elementary math, addition, subtraction and integer practice.
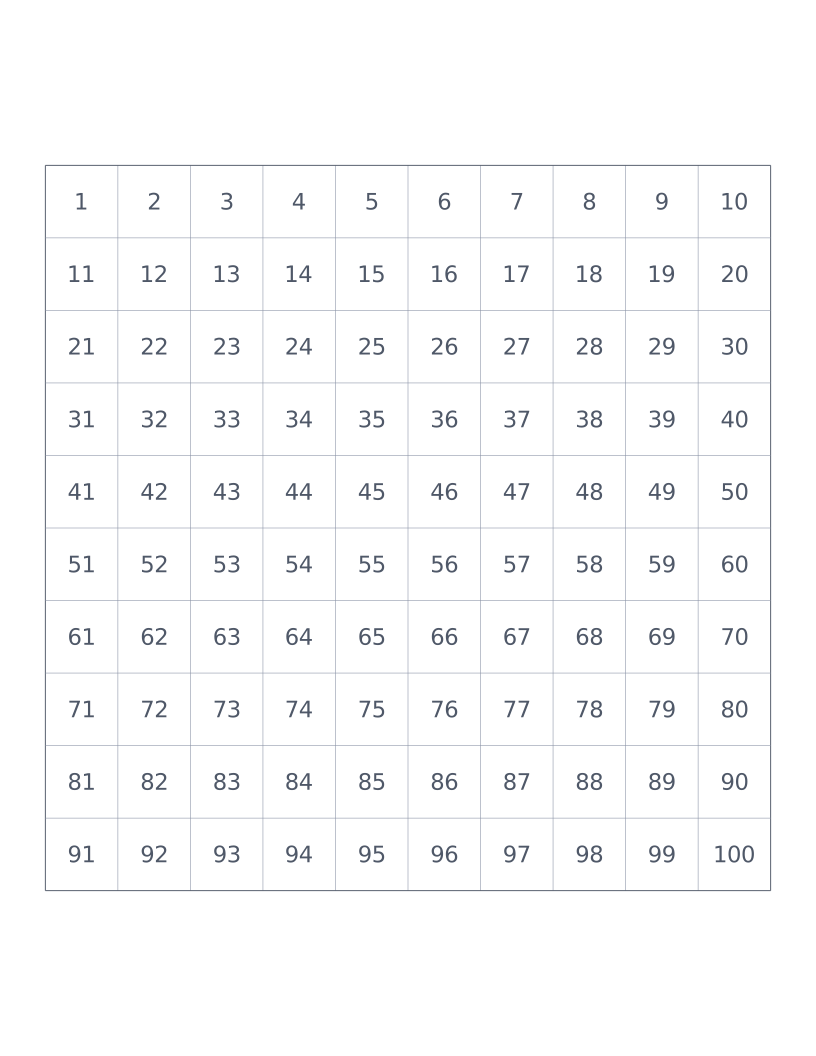
Hundreds Chart
10×10 grid numbered 1 to 100: a classroom staple for counting, place value and skip-counting.
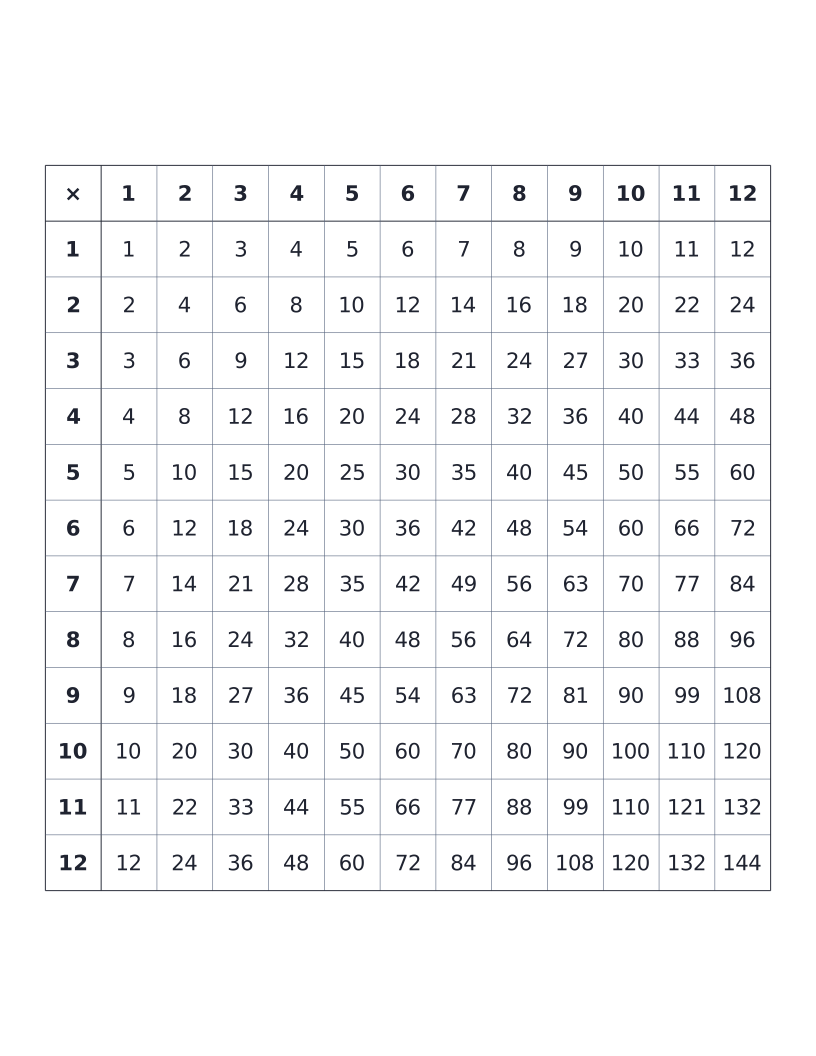
Multiplication Table (12×12)
12×12 times table with all products printed: the classic elementary reference chart.