Live preview · Letter (8.5" × 11") · Dark lines
Fraction Strips
Nine stacked horizontal bars, each representing the same 'one whole' divided into equal pieces. The top bar is undivided (1); each subsequent bar is divided into 2, 3, 4, 5, 6, 8, 10, and 12 equal segments. The visual comparison makes the relationships between fractions immediate.
Download generates a crisp vector PDF directly, no print dialog needed.
Choose a different paper size:
Choose a different line color:
Great for
- Introducing fractions to grades 2–4
- Comparing fraction sizes (1/3 vs 1/4) visually
- Demonstrating equivalent fractions (1/2 = 2/4 = 3/6)
- Adding and subtracting fractions with common denominators
Fraction Strips at a glance
| What it is | Stacked bars showing 1 whole subdivided into halves, thirds, quarters and more: the classic visual aid for comparing fractions. |
|---|---|
| Category | Math & Learning |
| Paper sizes | Letter (8.5" × 11"), A4 (210 × 297 mm), 11" × 17", Legal (8.5" × 14"), A3 (297 × 420 mm), A2 (420 × 594 mm), Poster (18" × 24"), Movie Poster (27" × 40") |
| Line colors | Faint, Light, Gray, Dark, Black, Blue, Green (default: Dark) |
| Format | Vector PDF download at exact physical scale, or print directly from the browser |
| Price & license | Free. No signup or watermark. Printed sheets may be used for personal, classroom and commercial work. |
About fraction strips
Fraction strips (also called fraction bars or fraction tiles) are one of the most-used manipulatives in elementary math because they make the abstract idea of 'a part of a whole' visually concrete. Each bar represents 'one whole' — the same total length across every row — so when the bar is divided into n equal segments, each segment is unambiguously 1/n of the whole. Stacking the bars vertically makes comparisons trivial: line up 1/3 against 1/4 and 1/3 is visibly larger; line up 2/3 against 4/6 and they're visibly equal. The visual approach gets at the underlying concept (a fraction is a part of an equally-divided whole) before the symbolic notation gets in the way. Most elementary curricula introduce fraction strips before any computational rules ('to add fractions, find a common denominator'), because students who understand the bars don't need to memorise the rules — they can see why 1/2 + 1/3 = 5/6 by counting strip pieces. The denominators 2, 3, 4, 5, 6, 8, 10, 12 are the conventional set, chosen because they show the most common equivalences (halves and quarters and eighths; thirds and sixths and twelfths; fifths and tenths) within one page.
What's on the page
Nine bars stacked vertically, each labelled to the left with its unit fraction (1, 1/2, 1/3, …, 1/12). Each bar is divided into the corresponding number of equal segments by vertical lines, and segment labels (1/2, 1/3, …) appear inside each segment where there's room. The bars are aligned horizontally so the same start position and the same end position mark 'zero' and 'one whole' across every row.
How to use it well
Use a ruler to compare fractions
Lay a ruler vertically across the page at any point. The fractions that bar represents at that point line up across all rows. At the halfway point, you can see 1/2 = 2/4 = 3/6 = 4/8 = 5/10 = 6/12 simultaneously.
Cut them out for hands-on manipulation
Print on cardstock, cut along the segment dividers, and the strips become physical manipulatives. Students can rearrange and combine them (place a 1/4 next to a 1/3 to see the sum) in a way that purely visual comparison doesn't allow.
Notice the missing denominators
There's no 1/7 or 1/9 strip. These denominators don't have clean equivalences with the others (1/7 doesn't equal any combination of halves, thirds, etc.), so including them would clutter the page without adding teaching value. They show up in later grades when fractions are more general.
Build to addition gradually
Step 1: comparing single fractions. Step 2: identifying equivalents (1/2 = 2/4 = 4/8). Step 3: adding fractions with the same denominator (1/4 + 2/4 = 3/4 — count segments). Step 4: adding fractions with different denominators (1/2 + 1/3 — find a common denominator by aligning strips). Each step is a natural progression on the same paper.
Common mistakes to avoid
- Misaligning the bars. If the strips don't start at the same horizontal position and end at the same horizontal position, the comparisons break down. Print at 100 percent scale (no 'fit to page') so the bars stay aligned.
- Treating non-equivalent fractions as comparable across different wholes. 1/2 of a pizza and 1/2 of a cake aren't the same amount; the strips show 'fraction of one whole' only when the wholes are the same size. This is a subtle conceptual trap, the strips make it concrete by enforcing that every bar represents the same whole.
- Skipping denominators in a comparison. If a student is comparing 3/4 and 5/8, they need to look at the 1/4 row and the 1/8 row. Trying to compare 3/4 to 5/8 mentally without the visual scaffolding is exactly the abstract-too-soon mistake the strips exist to prevent.
FAQ, Fraction Strips
What denominators are included?+
1 (whole), 2, 3, 4, 5, 6, 8, 10, 12 — the most commonly used denominators in elementary fraction work. These cover the standard equivalences (1/2 = 2/4 = 3/6 = 4/8 = 5/10 = 6/12; 1/3 = 2/6 = 4/12; 1/4 = 2/8 = 3/12; 1/5 = 2/10) without crowding the page with denominators that don't pair with the others.
Why no 1/7, 1/9 or 1/11?+
These prime denominators (other than 2, 3, 5) don't share equivalences with the others on the page, so including them adds visual noise without teaching the equivalence patterns. They come up in later fraction work but rarely in introductory K–4 contexts.
Can students colour these in?+
Yes, and they often do. Shading 3/8 by colouring three of the eight segments in the 1/8 row is a classic exercise. Some teachers print two copies — one as reference, one to be coloured and cut up.
How is this different from a [number line](/graph-paper/number-line)?+
A number line places fractions on a continuous axis (showing that fractions are numbers, not just parts of objects). Fraction strips show fractions as parts of a single whole, with the comparison emphasised. Both are useful at different stages: strips are usually introduced first (grades 2–3), number lines later (grades 3–4). They complement each other rather than replacing each other.
Are these the same as 'fraction bars' or 'fraction tiles'?+
Yes — three names for the same teaching tool. Some textbooks call them fraction strips (paper), fraction bars (cardstock), or fraction tiles (plastic manipulatives). The visual is identical.
Printing tips for best results+
- 1. Click Print above. A new tab opens the template at exact size.
- 2. The print dialog appears automatically. Set Scale to 100%. Never "Fit to page", which silently shrinks every cell.
- 3. Set Margins to None or Minimum so the grid reaches the page edge.
- 4. For a PDF, click Download instead. It generates a vector PDF directly without going through the printer driver.
You might also like
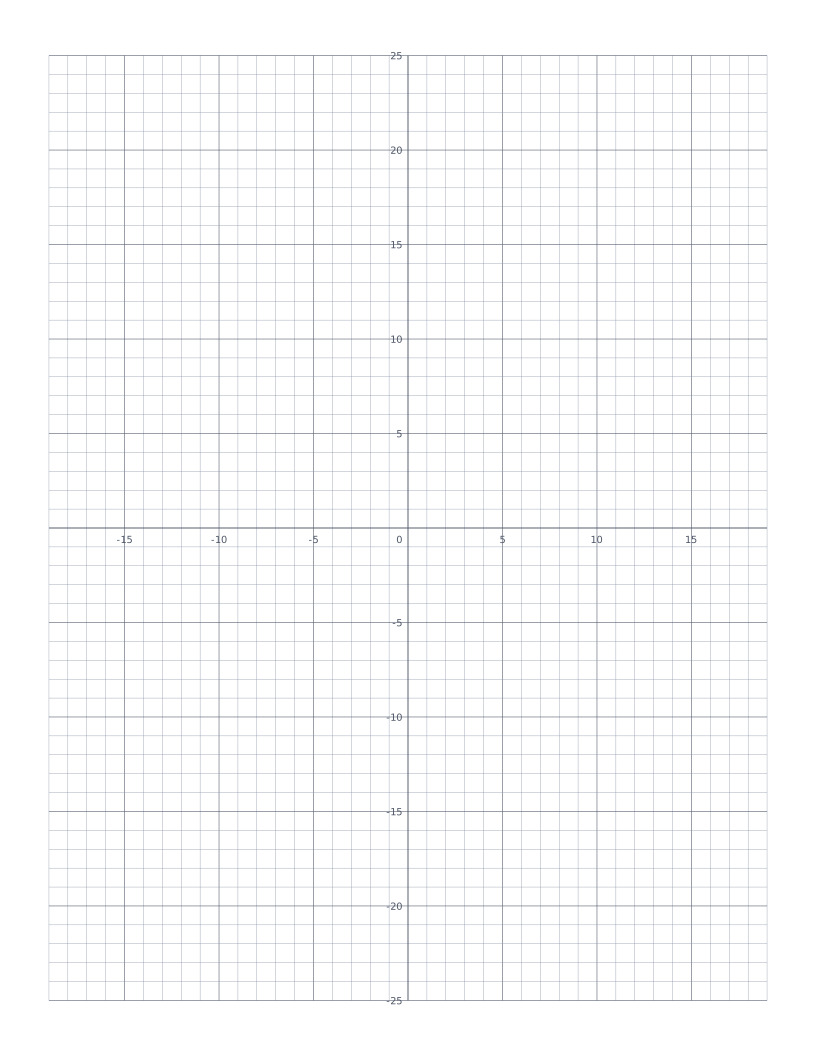
Coordinate Plane
Cartesian grid with numbered x and y axes through the centre: four quadrants for plotting points and graphing functions.
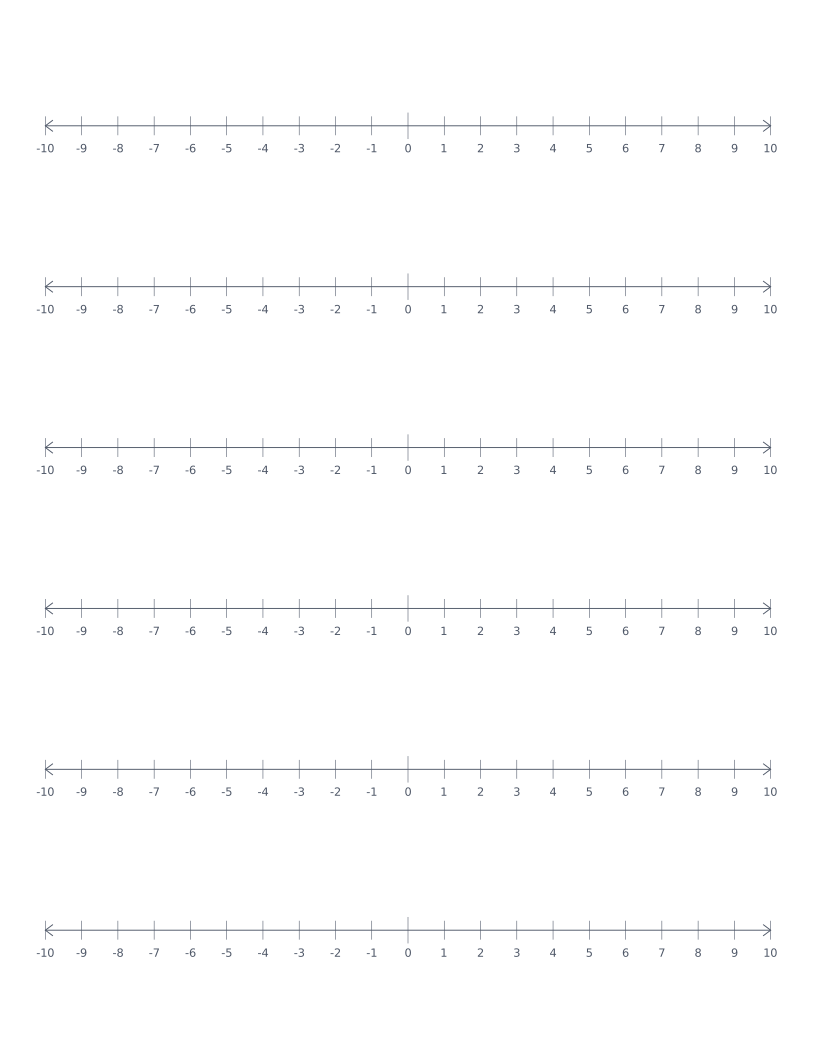
Number Line
Stacked number lines from -10 to 10: for elementary math, addition, subtraction and integer practice.
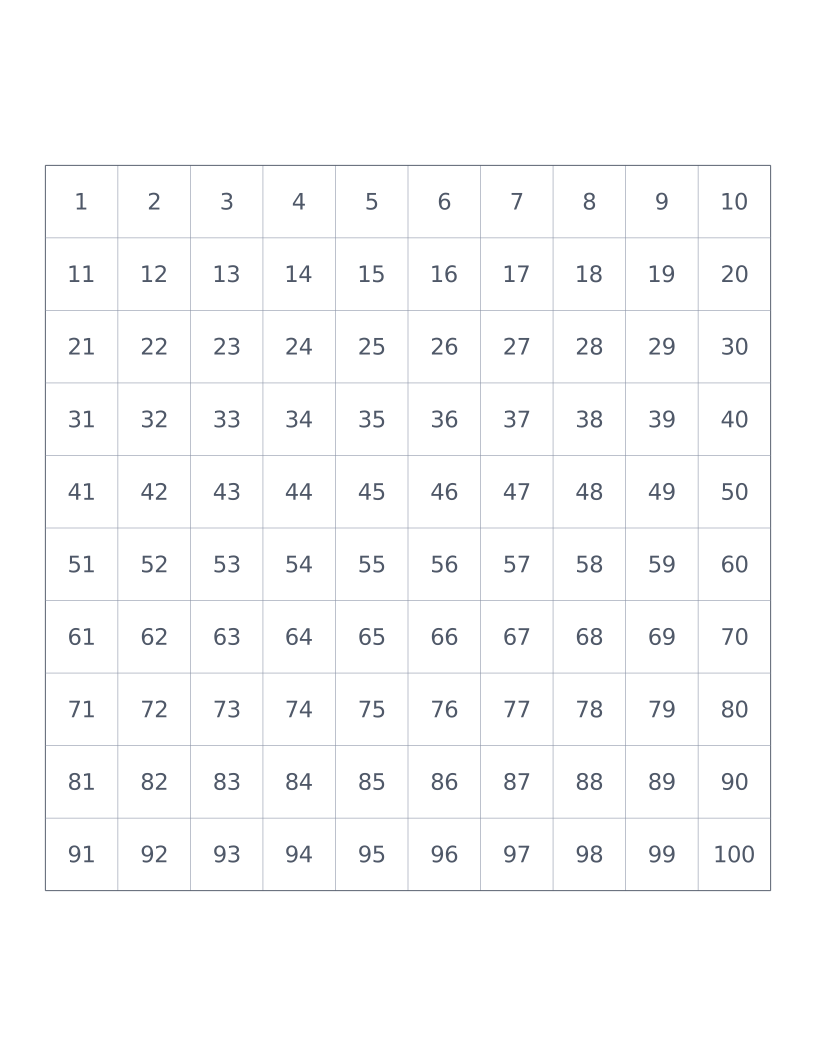
Hundreds Chart
10×10 grid numbered 1 to 100: a classroom staple for counting, place value and skip-counting.
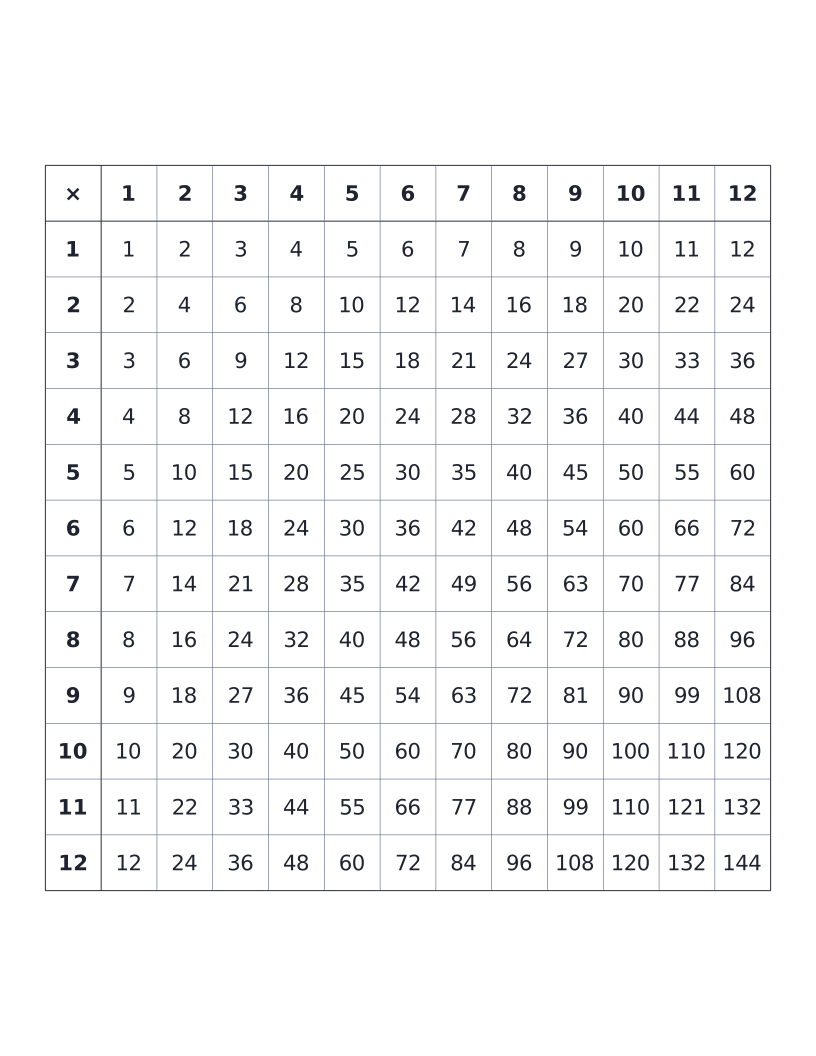
Multiplication Table (12×12)
12×12 times table with all products printed: the classic elementary reference chart.