Live preview · Letter (8.5" × 11") · Light lines
2-Point Perspective Grid
A 2-point perspective grid with two vanishing points spaced wide off the page edges. The wide spacing produces natural corner angles for buildings, rooms and objects viewed from a three-quarter angle — the standard view used in architecture, product design and most concept art.
Download generates a crisp vector PDF directly, no print dialog needed.
Choose a different paper size:
Choose a different line color:
Great for
- Buildings and architecture viewed from a corner
- Interior rooms with two visible walls
- Product and industrial design renderings
- Boxes, cars, and any object with two faces visible to the viewer
2-Point Perspective Grid at a glance
| What it is | Two vanishing points on the horizon, set wide for natural-looking corners: the standard for architecture and product illustration. |
|---|---|
| Category | Specialty |
| Paper sizes | Letter (8.5" × 11"), A4 (210 × 297 mm), 11" × 17", Legal (8.5" × 14"), A3 (297 × 420 mm), A2 (420 × 594 mm), Poster (18" × 24"), Movie Poster (27" × 40") |
| Line colors | Faint, Light, Gray, Dark, Black, Blue, Green (default: Light) |
| Format | Vector PDF download at exact physical scale, or print directly from the browser |
| Price & license | Free. No signup or watermark. Printed sheets may be used for personal, classroom and commercial work. |
About 2-point perspective grid
Two-point perspective handles the most common drawing scenario: an object with a vertical edge pointing at the viewer, two faces receding away to either side. Buildings on a street corner. A book sitting on a desk. A car parked at an angle. Each receding face has its top and bottom lines converging to a separate vanishing point. Vertical lines stay strictly vertical (this is the defining property of 2-point — only horizontals converge). The system was the standard taught in architectural drafting from the 19th century onward, because most buildings are naturally drawn in this view: from across a street, at three-quarters angle, with one vertical edge closest to the viewer. The vanishing points are typically placed far apart, often well off the visible drawing area, to avoid the cartoonish 'over-converged' look that comes from squeezing them too close together.
What's on the page
Two vanishing points on the horizon line, positioned off the left and right page edges (at -15% and +115% of page width). Thirty-six rays from each VP fan into the page, providing guides for both sets of receding lines. The horizon line itself runs across the page. The wide VP placement is intentional: closer VPs produce dramatic, fisheye-like convergence; wider VPs produce the calm, naturalistic angles that real-world architecture exhibits.
How to use it well
Vertical edges stay vertical
The single most important rule in 2-point: any line going up-and-down stays parallel to the page edges. Only lines going *into the page* converge. Beginners often draw verticals tilting toward a phantom upper VP — that's accidentally drifting into 3-point territory.
Put vanishing points off the page
If both VPs are visible inside your drawing area, the convergence is too aggressive and the result looks distorted. Real cameras and real eyes correspond to VPs far apart. The renderer places them just off the page edges, which is the realistic minimum.
Use both grids together for boxes
A simple box: pick a vertical line as the front edge, then trace the top/bottom along rays from one VP for the left face and rays from the other VP for the right face. Two more verticals close off the back of each face. That's a complete box in 2-point in five lines.
Move the horizon to change the viewer's height
The horizon at 45% gives a standing-viewer feel. Drag the horizon to the top of the page for a worm's-eye view (ground-level perspective), to the bottom for a bird's-eye view (looking down from a height). All still 2-point if there are exactly two VPs on whatever line you use as the horizon.
Common mistakes to avoid
- Placing the VPs too close together. If both VPs are visible inside the page, lines from each will fan too rapidly and the scene looks like a wide-angle distortion. Keep them off-page or at the extreme edges.
- Adding a third converging direction by accident. Tilted verticals (going to an unseen upper or lower VP) turn the drawing into 3-point. Stay deliberate about which lines converge and which don't.
- Treating the two VPs as interchangeable. Each VP belongs to a specific set of parallel lines in the scene. Don't randomly assign edges to whichever VP is closer — the geometry breaks immediately.
FAQ, 2-Point Perspective Grid
How is this different from [1-point](/graph-paper/one-point-perspective-grid) or [3-point](/graph-paper/three-point-perspective-grid)?+
1-point has a single VP and is used when objects face the viewer head-on (hallways, streets). 2-point has two VPs on the horizon and is used when objects are rotated so two faces show (most building corners, product views). 3-point adds a third VP for vertical convergence — looking up at a tall building or down from a height.
Why are the vanishing points off the page?+
Realistic perspective needs the VPs spaced far apart, often well outside the visible scene. If they're too close together, the receding lines fan out too aggressively and produce a distorted, fisheye look. Off-page VPs match how real cameras and human vision see angled objects.
Where should the horizon be?+
At the viewer's eye level. For most standing-adult drawings, that's about 40–50% down the page. Lower horizon means looking up at the scene; higher horizon means looking down. The grid puts the horizon at 45%, but you can override it by drawing your own horizon over the printed one.
Can I use this for circles and curves?+
Curves in perspective don't follow the grid lines, but the grid still helps you place the bounding ellipses correctly. A circle in perspective becomes an ellipse whose orientation depends on the surface it lies on — the grid lines on that surface tell you the ellipse's major and minor axes.
Why 36 rays per VP?+
Same reason as 1-point: 10°-apart guides give close-enough angles for most drawings without becoming visually noisy. Doubling the count to 72 would make the page hard to read; halving to 18 would leave too many angles without a nearby guide.
Printing tips for best results+
- 1. Click Print above. A new tab opens the template at exact size.
- 2. The print dialog appears automatically. Set Scale to 100%. Never "Fit to page", which silently shrinks every cell.
- 3. Set Margins to None or Minimum so the grid reaches the page edge.
- 4. For a PDF, click Download instead. It generates a vector PDF directly without going through the printer driver.
You might also like
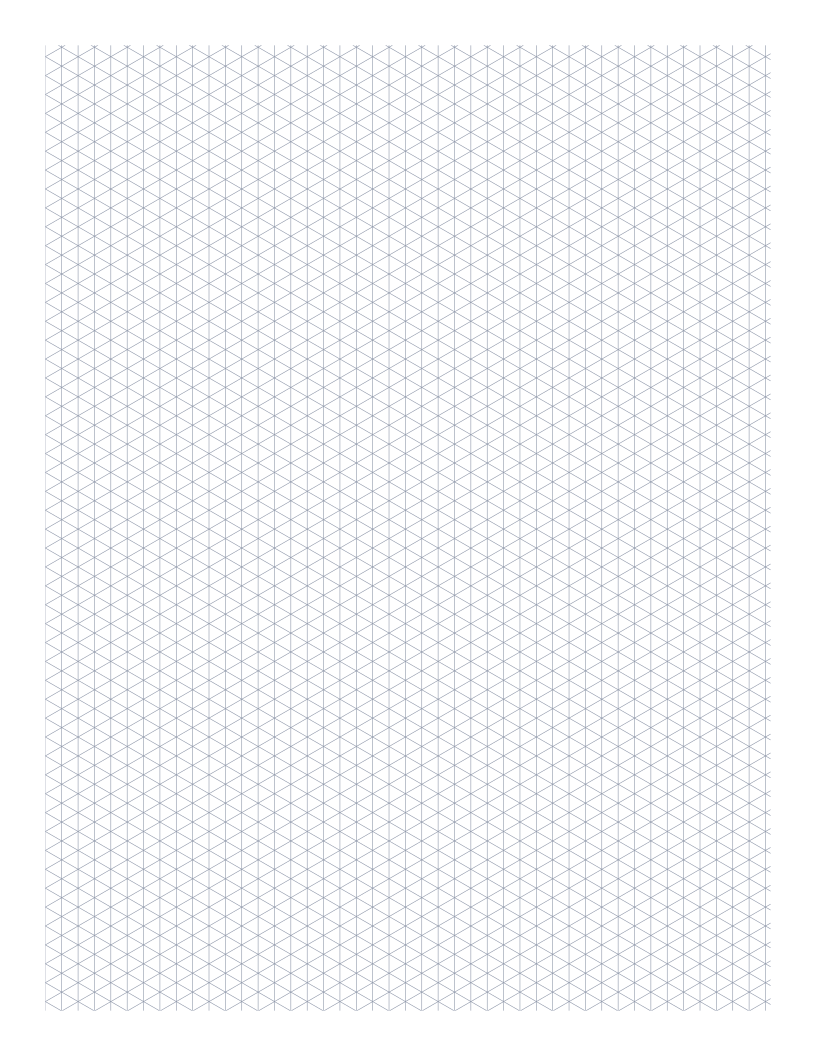
Isometric Graph Paper
Triangular 30°/60° grid for 3D drawings, technical sketches and Minecraft-style design.
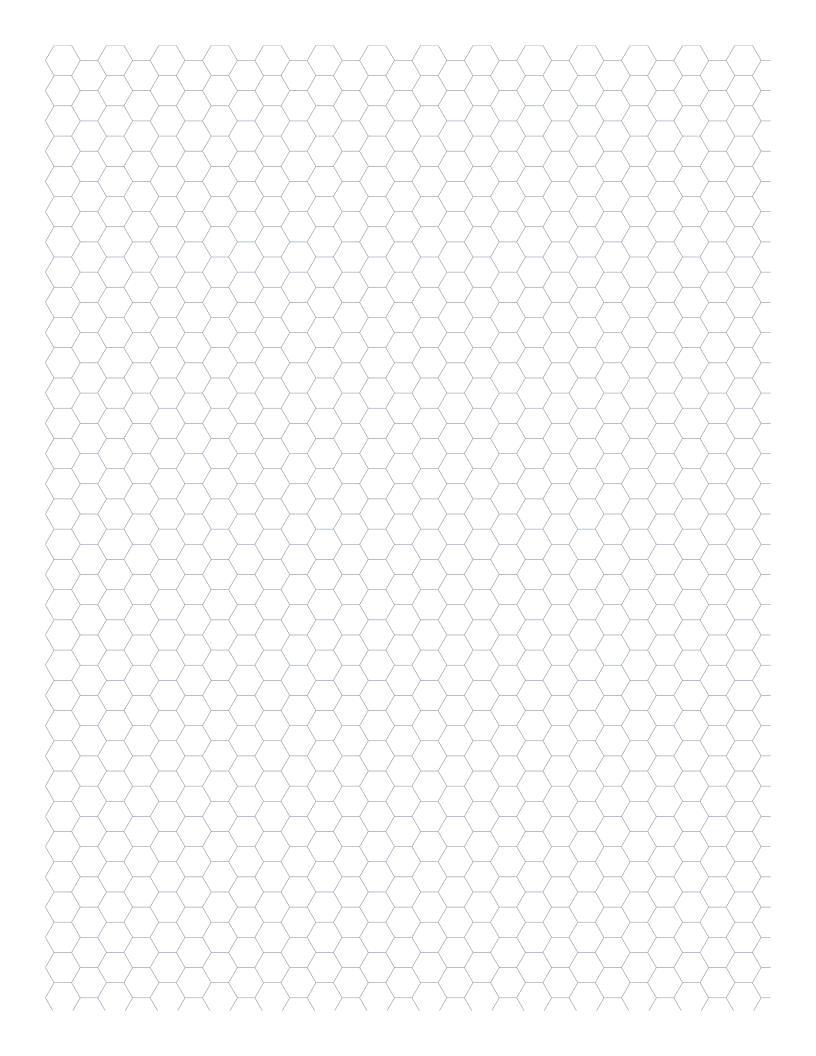
Hexagonal Graph Paper
Hexagonal tessellation: perfect for tabletop wargaming, organic chemistry and tile-based games.
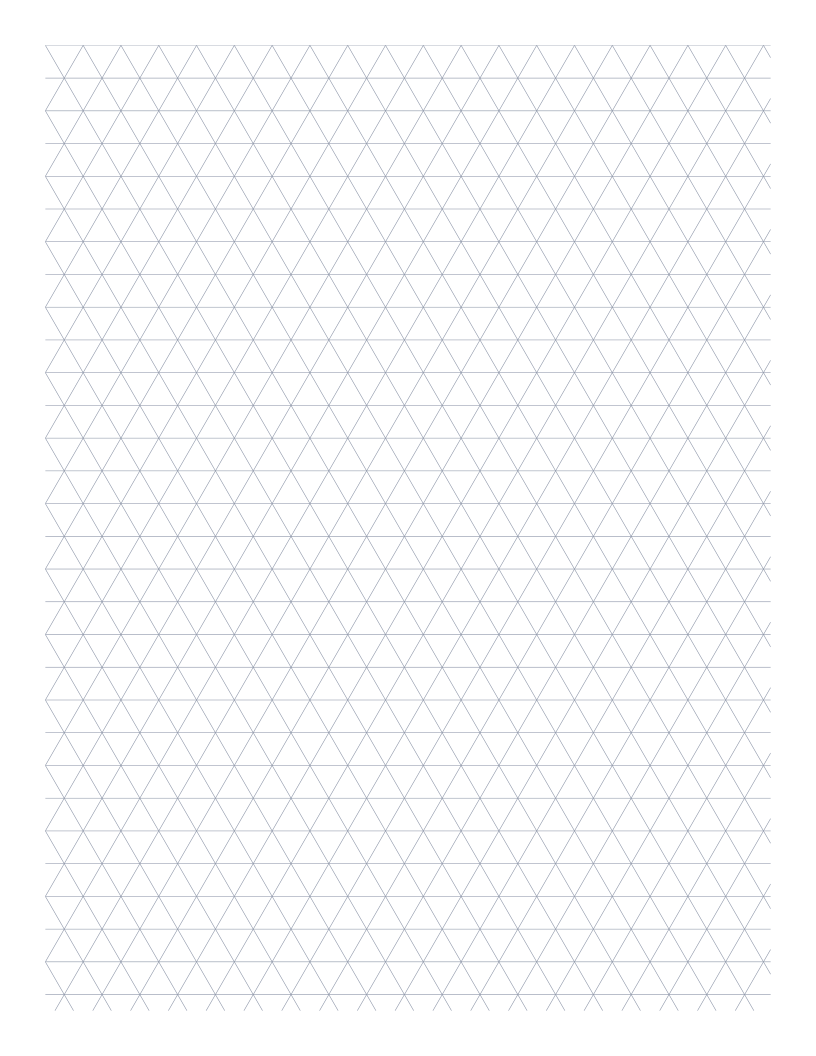
Triangular Graph Paper
Equilateral triangle grid: useful for ternary diagrams and tessellation art.
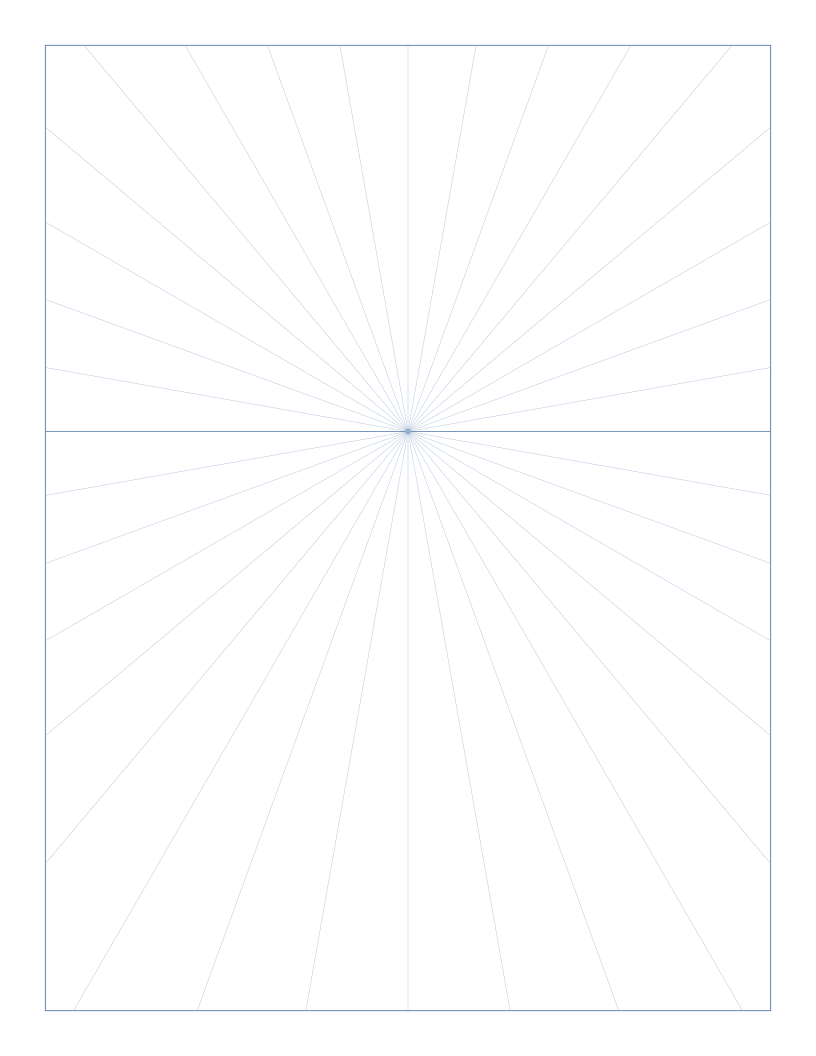
1-Point Perspective Grid
Single vanishing point on the horizon with radiating guides: the classic setup for hallways, rooms and street scenes.