Live preview · Letter (8.5" × 11") · Light lines
1-Point Perspective Grid
A 1-point perspective grid with a single vanishing point centred on the horizon line. Thirty-six lines radiate from the vanishing point to the edges of the page, providing guides for any object or surface that recedes directly toward the viewer.
Download generates a crisp vector PDF directly, no print dialog needed.
Choose a different paper size:
Choose a different line color:
Great for
- Hallways, corridors, room interiors viewed head-on
- Streets, train tracks and roads receding into the distance
- Boxes, books and rectangular objects with one face toward the viewer
- Composition practice for beginning perspective drawing
1-Point Perspective Grid at a glance
| What it is | Single vanishing point on the horizon with radiating guides: the classic setup for hallways, rooms and street scenes. |
|---|---|
| Category | Specialty |
| Paper sizes | Letter (8.5" × 11"), A4 (210 × 297 mm), 11" × 17", Legal (8.5" × 14"), A3 (297 × 420 mm), A2 (420 × 594 mm), Poster (18" × 24"), Movie Poster (27" × 40") |
| Line colors | Faint, Light, Gray, Dark, Black, Blue, Green (default: Light) |
| Format | Vector PDF download at exact physical scale, or print directly from the browser |
| Price & license | Free. No signup or watermark. Printed sheets may be used for personal, classroom and commercial work. |
About 1-point perspective grid
One-point perspective is the simplest of the linear-perspective systems and the entry point for art students learning to draw depth. The setup is fixed: a horizon line at the viewer's eye level, a single vanishing point on that line, and a set of straight guides radiating from the point. Anything in the scene that runs perpendicular to the picture plane (away from the viewer) converges to that single point; anything parallel to the picture plane stays straight. The system was first formalised by Brunelleschi in the 1410s and codified by Alberti's 1435 treatise *De Pictura*. It produces the strong sense of depth you see in early Renaissance paintings of long halls and city streets. Three-quarters of all 'looking down a road' images, from da Vinci's *The Last Supper* to Pixar concept art, use this exact construction.
What's on the page
A vanishing point on the horizon line about 40% of the way down the page (eye level for a standing viewer looking forward). Thirty-six light lines radiate from the point to the page edges. The horizon line itself is drawn slightly heavier for visibility, with the vanishing point marked as a small dot. The outer frame defines the picture plane; everything inside it is the scene.
How to use it well
Anything receding from the viewer follows a ray
If you draw a hallway, its floor and ceiling lines run along two of the radial guides. The walls' tops and bottoms each follow a ray. Pick rays that match the angle you want the hall to recede at and trace along them.
Anything parallel to the picture plane stays horizontal or vertical
Doors, windows, the picture frames on the wall — anything that faces the viewer keeps its sides parallel to the page edges. Only the lines going *into* the page converge to the vanishing point.
Vanishing point above or below the horizon for special effects
The horizon at 40% of the page height gives a standard 'standing viewer' look. Move the VP lower to look up at the scene (low camera, towering hallway); move it higher to look down (overhead view). Both are still 1-point as long as there's only one VP.
Don't use 1-point for objects rotated to the viewer
If a cube has a corner pointing at you (not a flat face), it needs 2-point perspective. 1-point only works for objects with one flat face parallel to the picture plane.
Common mistakes to avoid
- Putting the VP off the horizon. The defining property of perspective grids is that the VP sits on the horizon line. Moving it above or below produces a tilted-camera effect that breaks the geometry.
- Forgetting the horizon. The horizon line itself is the viewer's eye level; objects above it appear from below, objects below it appear from above. Sketching without thinking about where the horizon is leads to objects that look like they're floating or sinking.
- Treating the grid as the drawing. The lines are construction guides, not the final image. The finished drawing should have its own deliberate lineweight, with the perspective grid either erased or drawn so faintly it disappears.
FAQ, 1-Point Perspective Grid
How is this different from [2-point](/graph-paper/two-point-perspective-grid) or [3-point](/graph-paper/three-point-perspective-grid) perspective?+
1-point has one vanishing point (objects facing the viewer); 2-point has two (objects rotated to show two faces); 3-point adds a third VP above or below for vertical convergence (looking up at skyscrapers or down from a height). Each suits different scene types — 1-point is best for symmetric head-on views.
Where should the vanishing point be?+
On the horizon line, somewhere in the middle of the page horizontally for a symmetric composition, or shifted left/right to suggest the viewer isn't looking straight ahead. The renderer centres it; you can use the off-centre regions of the page to add asymmetry to your composition.
Can I move the horizon line up or down?+
Visually yes, by drawing your own horizon over the grid. The grid lines remain useful for any object receding to the VP. For a permanent change in horizon position, we may add variants — for now, treat the printed horizon as one of many possible eye-levels and override it as needed.
Why 36 rays and not more or fewer?+
Thirty-six gives 10°-apart guides, which is dense enough that you nearly always have a ray close to the angle you want to draw and sparse enough that the page doesn't become a fog of overlapping lines. Most published 1-point grids use somewhere between 24 and 48 rays.
Does this work for digital tracing?+
Yes. Print the page, scan or photograph it, drop it into your digital painting software as a faint reference layer. The radial geometry is the same on paper and on screen, but most digital painters find it easier to construct than to trace if they're already at a computer.
Printing tips for best results+
- 1. Click Print above. A new tab opens the template at exact size.
- 2. The print dialog appears automatically. Set Scale to 100%. Never "Fit to page", which silently shrinks every cell.
- 3. Set Margins to None or Minimum so the grid reaches the page edge.
- 4. For a PDF, click Download instead. It generates a vector PDF directly without going through the printer driver.
You might also like
Isometric Graph Paper
Triangular 30°/60° grid for 3D drawings, technical sketches and Minecraft-style design.

Hexagonal Graph Paper
Hexagonal tessellation: perfect for tabletop wargaming, organic chemistry and tile-based games.
Triangular Graph Paper
Equilateral triangle grid: useful for ternary diagrams and tessellation art.
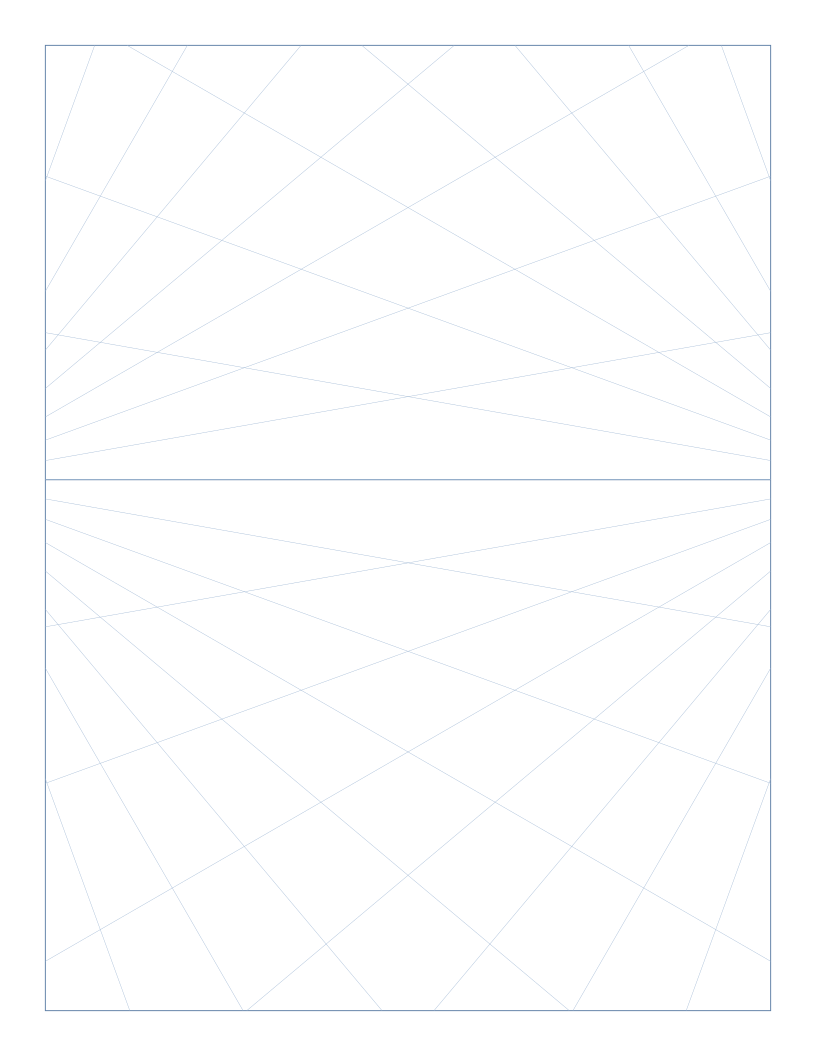
2-Point Perspective Grid
Two vanishing points on the horizon, set wide for natural-looking corners: the standard for architecture and product illustration.